Direct Recording settings can be customised to allow for greater flexibility and functionality. Settings such as the recording format, folder and filename format can all be customised.
How to configure Direct Recording
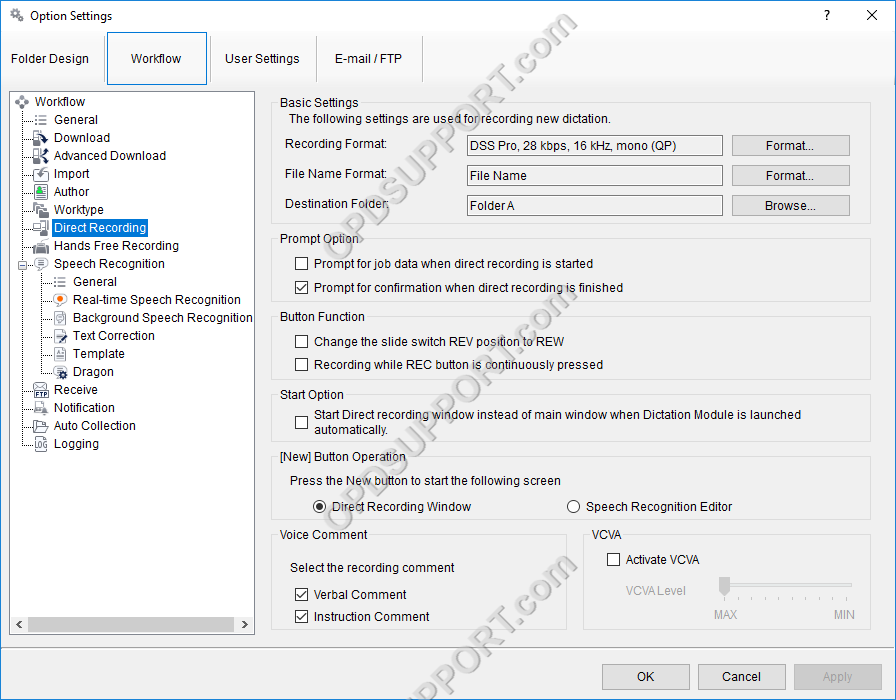
- Click Tools > Options > Workflow > Direct Recording
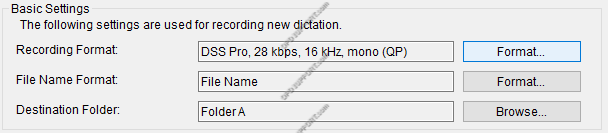
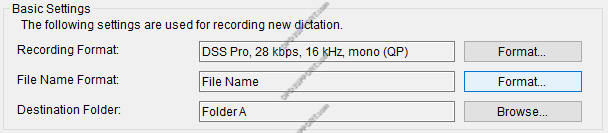
Recording Format
- To change the recording format, click Format…
- Select the recording format and audio quality from the drop-down menu and click OK.
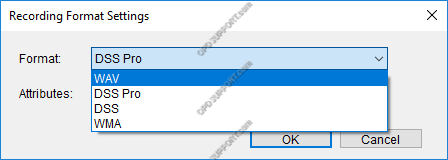
- Click Apply/OK
File Name Format
The File Name Format can be customised to rename dictations once they have been recorded. This is useful for including more information in the filename.
- To change the default format of the file name click Format…
- Select which information to include in the file name by ticking the relevant boxes.
- The information will be displayed in the order it is listed. To re-arrange the information, use the Up and Down buttons to move them in the list.
- The separator is the character that will appear between each segment of information to separate them.
- A preview of the new file name format will be shown under Preview:
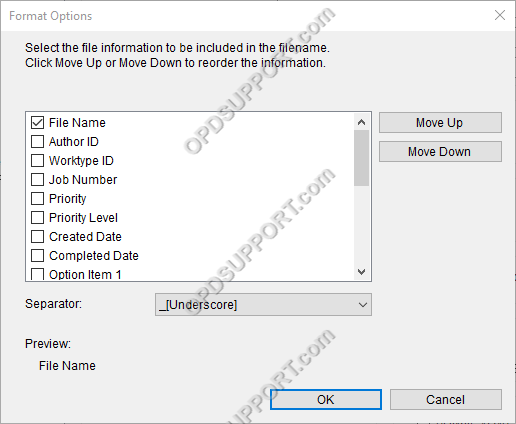
- Click OK to close the dialogue box.
- Then click Apply / OK to save the changes.
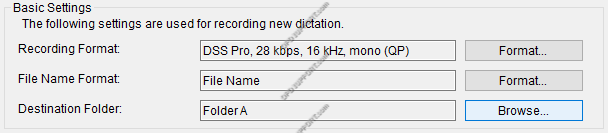
Destination Folder
Dictations can be saved into a specific folder by selecting the Destination folder. This setting can be customised in the Direct Recording options.
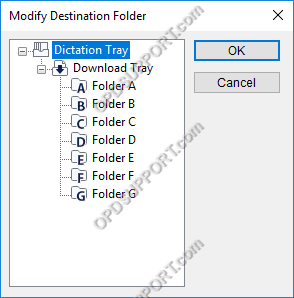
- Click Browse… in the Destination Folder category.
- Select the destination folder from the list and click OK.
- Click Apply / OK to save the changes.
Prompt Option
The prompt options can be customised to select which options are displayed when a new recording is started or saved.
Prompt for job data when direct recording is started
By enabling this option, the Job Data window will be displayed when a new recording is started so that the Author ID and Worktype ID can be customised.
Prompt for confirmation when direct recording is finished
When this option is enabled a confirmation window will appear each time a recording is finished giving the option to Save or Cancel the dictation.

Button Function
Review (REV)
The review function will skip back through the dictation at a slower rate whilst playing parts of the audio file to indicate the current location in the dictation. This is more commonly used for rewinding short amounts for the purpose of inserting / overwriting a recording.
Rewind (REW)
The rewind function will skip back at a faster rate without playing any audio preview. This is typically used for rewinding at greater lengths.
Recording while REC button is continuously pressed
The record button must be held down to record. To stop recording, stop pressing the REC button.

Start Option
The software can be configured to start the Direct Recording window instead of the main window, when the dictation module is launched.

New Button Operation
The new button can be set to launch the direct recording window or the Voice Recognition Editor.

Voice Comment
It is possible to choose which type of comment can be inserted into dictations by enabling one or both of the verbal comment tick boxes.
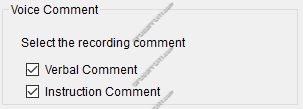
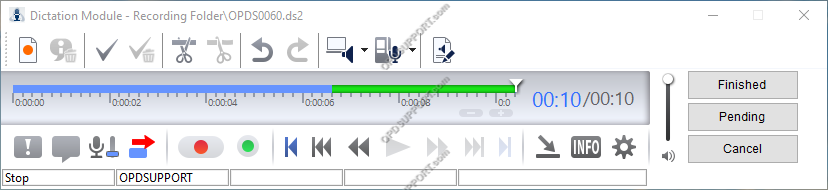
Verbal Comment
A verbal comment can be recorded by clicking the Verbal Comment button in the Direct Recording window. The comment will be part of the main audio file, however it will be highlighted in the playback window by displaying as a different colour.
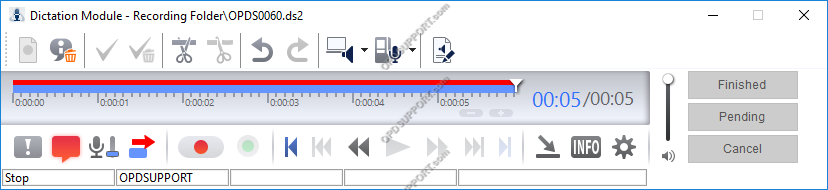
Instruction Comment
An instructional comment can be recorded by clicking on the Instruction Comment button. This comment will be recorded as a separate audio track and attached to the dictation. It is required that the Instruction Comment button is clicked to view or record a comment.
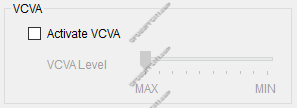
VCVA (Variable Control Voice Activation)
The VCVA function can be enabled so that recording will begin when noise or speech is detected.
- Tick the Activate VCVA box to enable this feature.
- Drag the bar left to MAX to increase the sensitivity or drag the bar right to MIN to decrease the sensitivity.